top of page
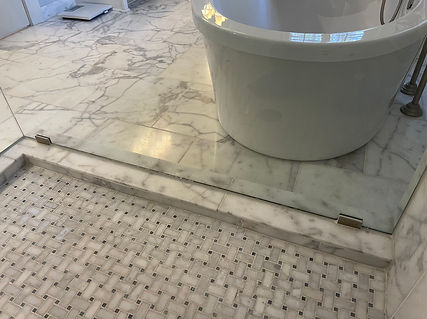
Caulk & Grout Elimination Process

Features and Benefits
100% Industrial Marine Epoxies
Small Even Seams
Color Matching
True Waterproofing
Textured to Match Grout
Fills, Seals and Securers
Causes
Incorrect Products:
Acrylics and most paintable caulk ingredients feed the mold/mildew, allowing it to imbed into the caulk.
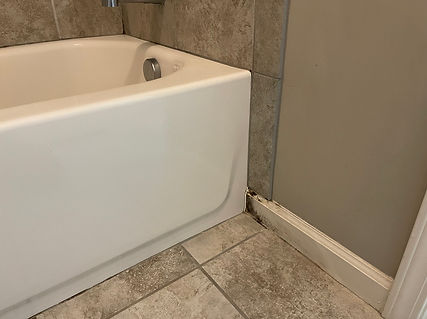
Silicone caulk molds, due to trapped moisture from behind that gets through from cracked or missing areas.
Faulty Application:
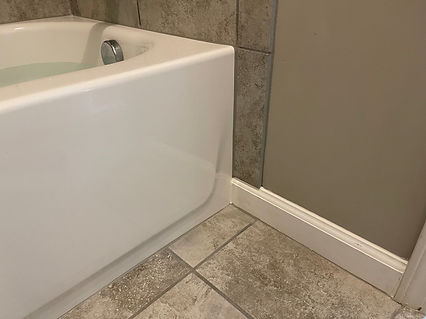
Caulk should be applied only filling the voids, any bulky or excessive caulk applied to the tile will eventually break its bond and begin to peel. Once the caulk begins to break or peel it allows the water to penetrate beneath, causing the caulk to fail and potentially cause damage to the substrate if not properly fixed.
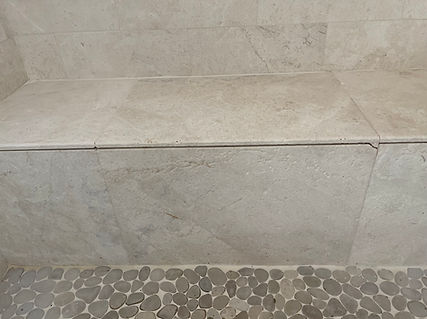
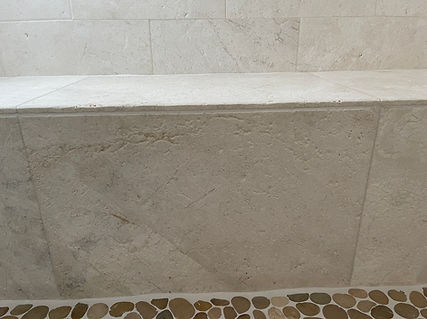
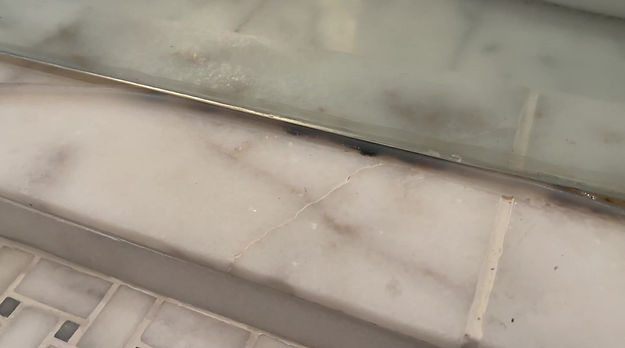
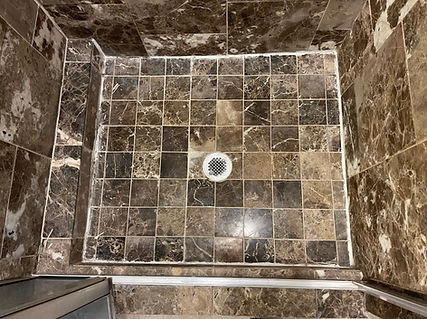
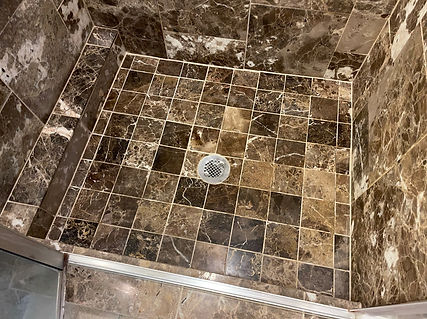
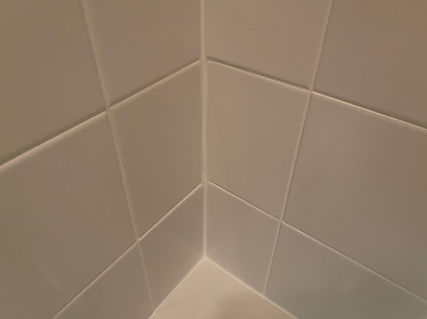
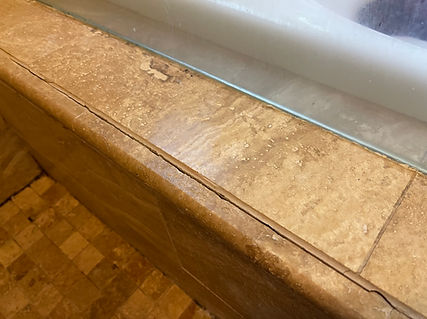
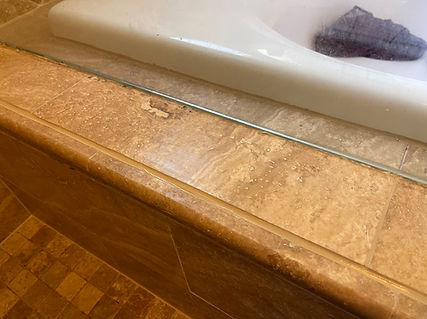
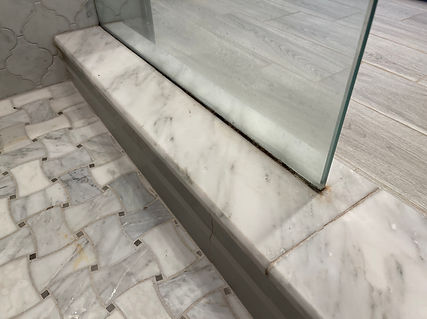
Grout Cracking
Grout does not crack unless tiles, substrate or walls experience movement. In showers the edges or corners are expansion joints and will crack the grout with movement. On floors when tile or substrate moves the grout will crack, due to loose tile and or underlayment.
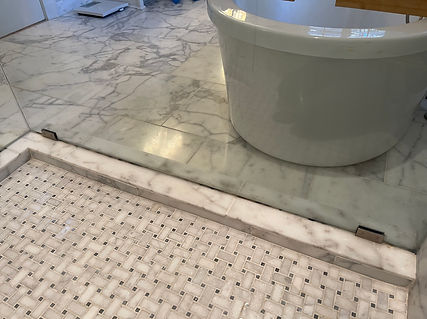
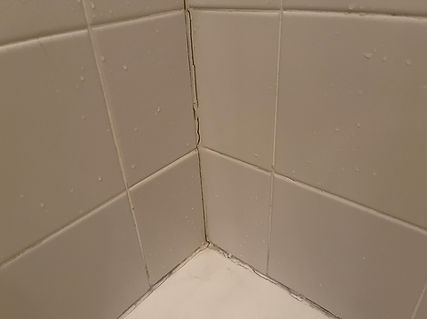
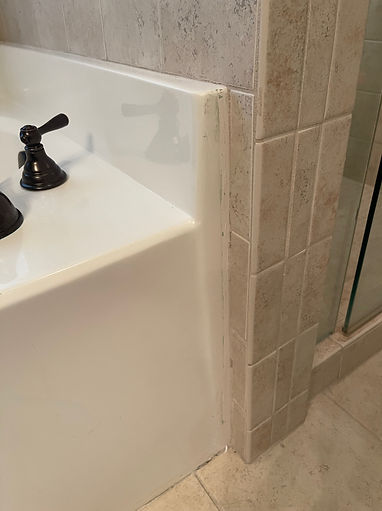
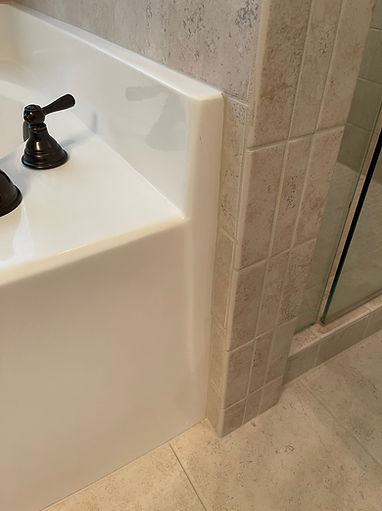
Leaking Showers
Caulk peels easily on the edges and starts to allow water to pass through, causing the mold/mildew issues and leads to leaking problems or damages if left alone. The shower pan should catch and properly drain the water below the tile surface, water leaking issues usually means a faulty shower pan, although we can surface seal to help prevent the water from passing through the tile and grout surfaces.
Solution
Most simply reapply caulk or grout, only making the problem worse with recurring issue. We remove all existing caulk and the grout beneath to open and expose the voids. Clean the voids, secure loose tile to help prevent excessive movement and properly fill the voids by injecting our 3-part industrial epoxy.
Steps
1. Remove existing grout and caulk from all corners and expansion joints.
2. Vacuum area and clean voids.
3. Precisely apply our 2-part epoxy filler to all repairing voids.
4. Apply our colored sealant to all repaired corners for an additional layer of protection and color matching.
Dry Times
Before: Please don't use the areas the day we are scheduled to start the project.
After: 24 - 48 hrs.
Products
We do not use traditional grout or caulk to ensure lasting beautiful results.
Learn more about C.G.R, our Caulk and Grout Replacement Product>

OR>
Schedule an onsite ESTIMATE/CONSULT:
Have an estimator come to you, gather the information we need and explain our services that work best for you and your unique surfaces.
Get a QUICK QUOTE:
We can provide a detailed quote with just a few photos showing the area.
bottom of page